
Valentine’s Crafting
Valentine’s crafting fun! Rey made cards to mail to her grandparents, cards to give to her friends, and a special card for her daddy.
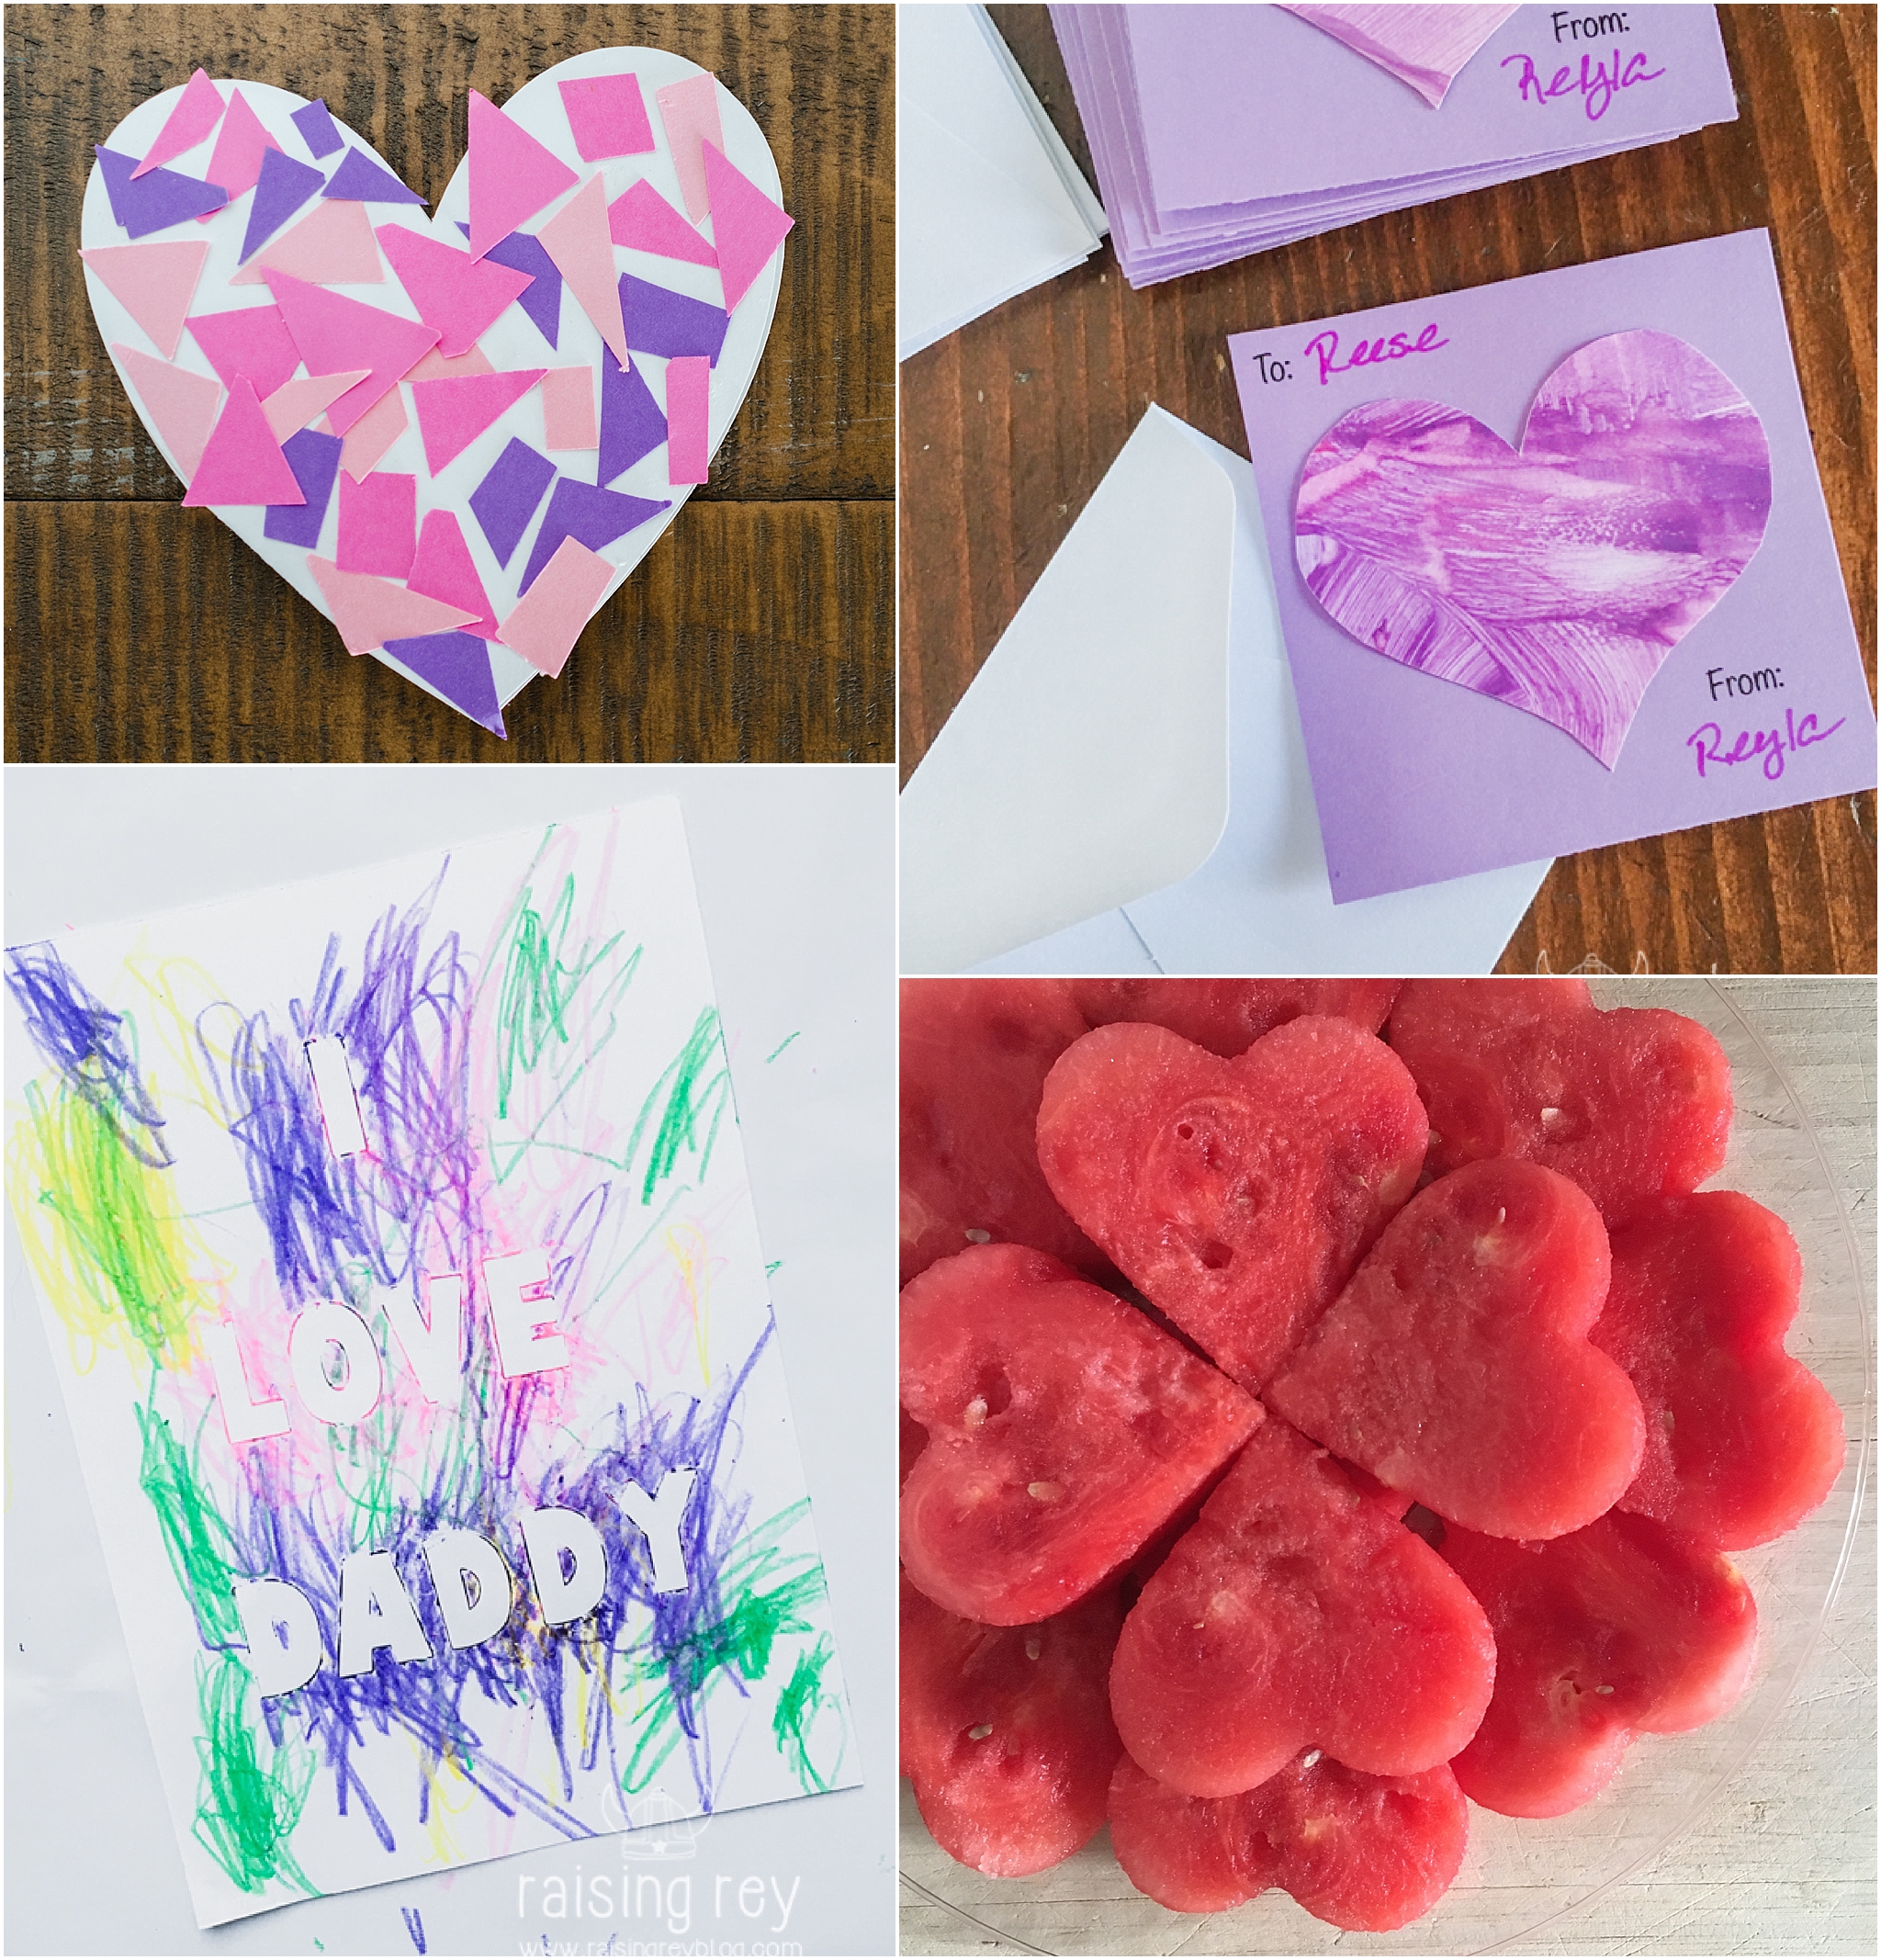
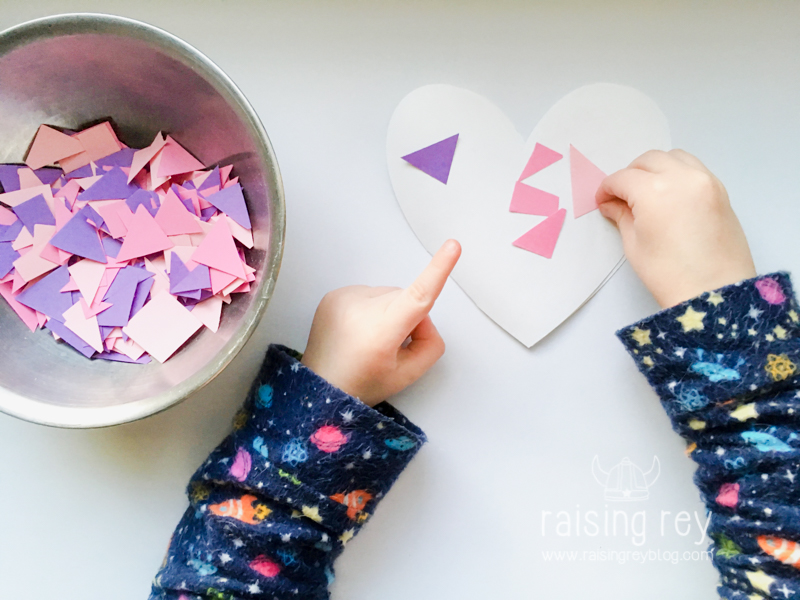
An easy project for littles is sticking pieces of paper on card stock, so these cards for her grandparents were a perfect.
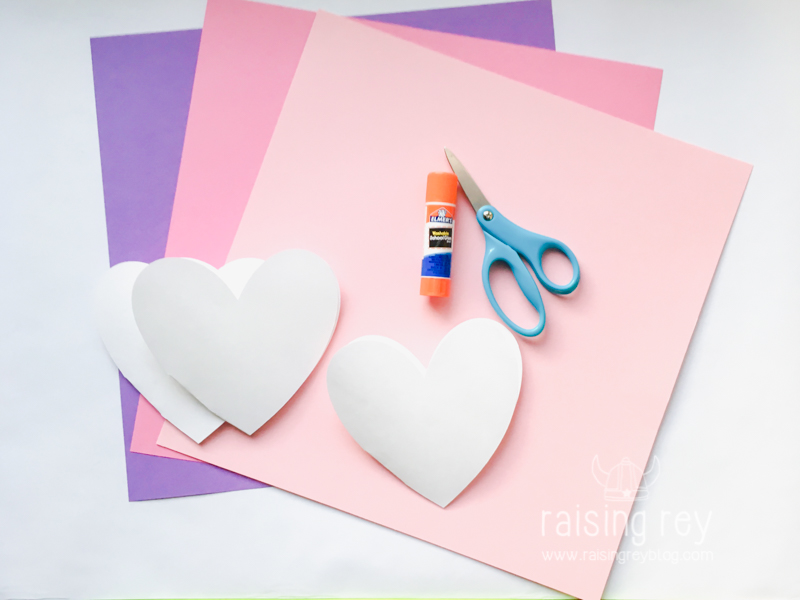
To make. gather some cardstock, different color paper or card stock, scissors, and a glue stick.
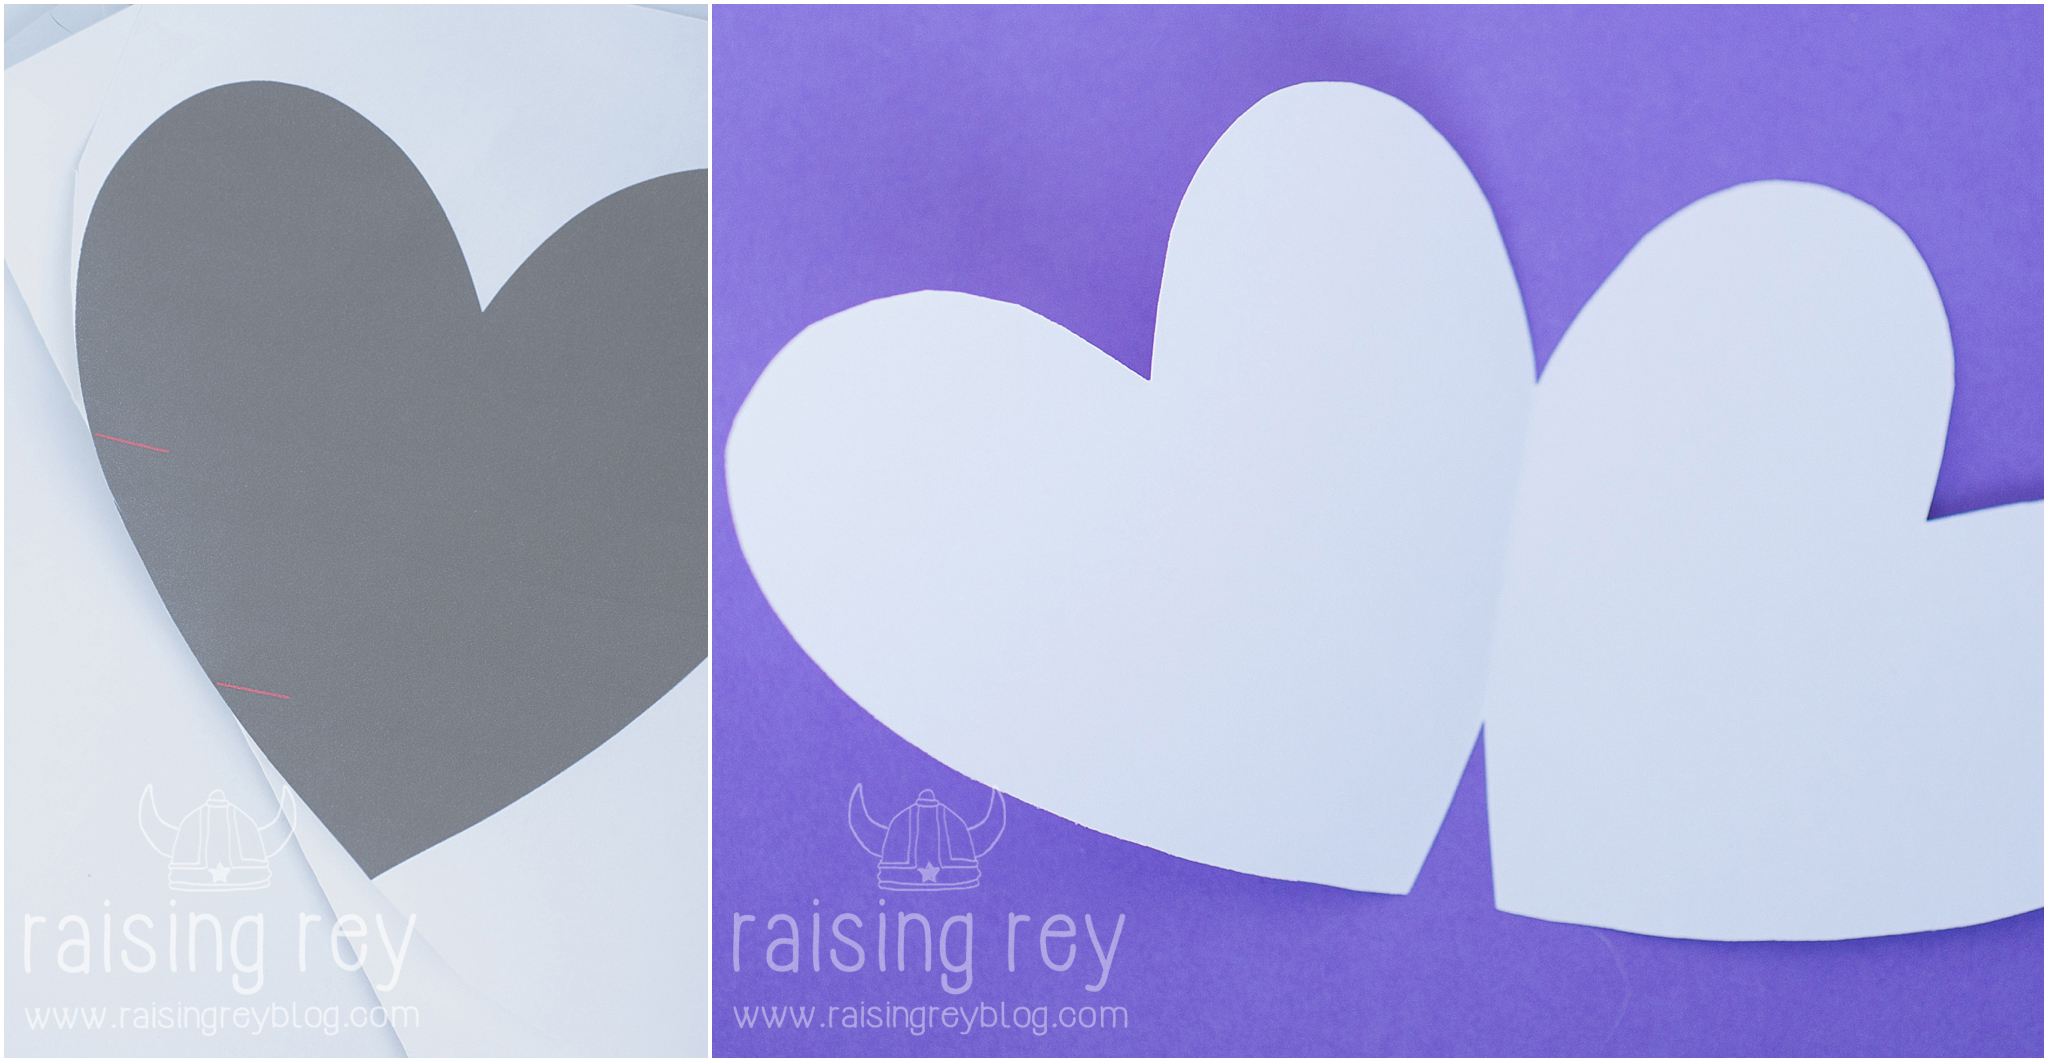
- Print a heart to use as a template. You can download the template I created at the end of this post. The card fits in a 5″x5″ envelope. (If you are mailing the card, you will need extra postage for a 5″x5″ envelope.)
- Place the heart template on the fold. If using the template I created, cut along the heart fold side between the red lines, then line up the fold of the card stock between the red lines. The heart will very slightly go off the edge of the fold. To make it easier, trim down the paper outside of the heart and tape the template to the card stock to keep it in place.
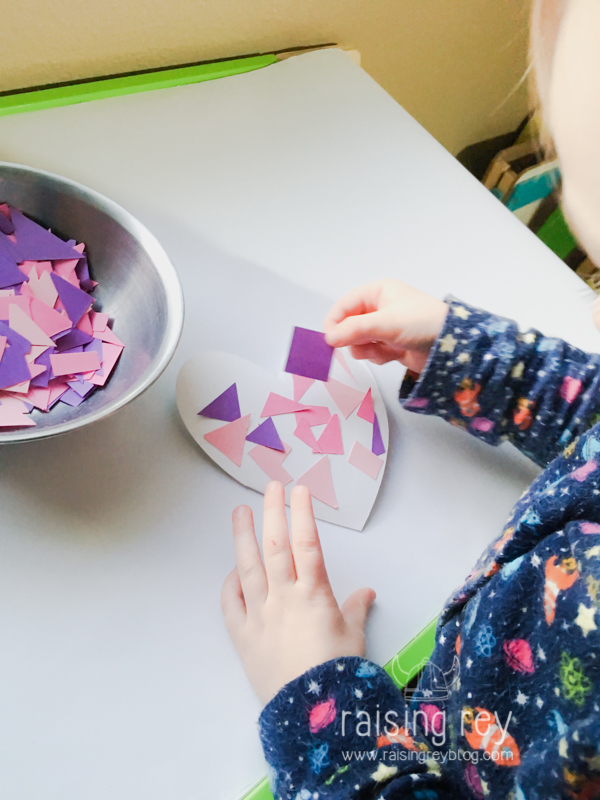
- Cut up pieces of paper/cardstock in random sizes.
- Add glue to the front of the heart card. If your child is able use a glue stick, they can apply the glue to the pieces or heart card themselves.
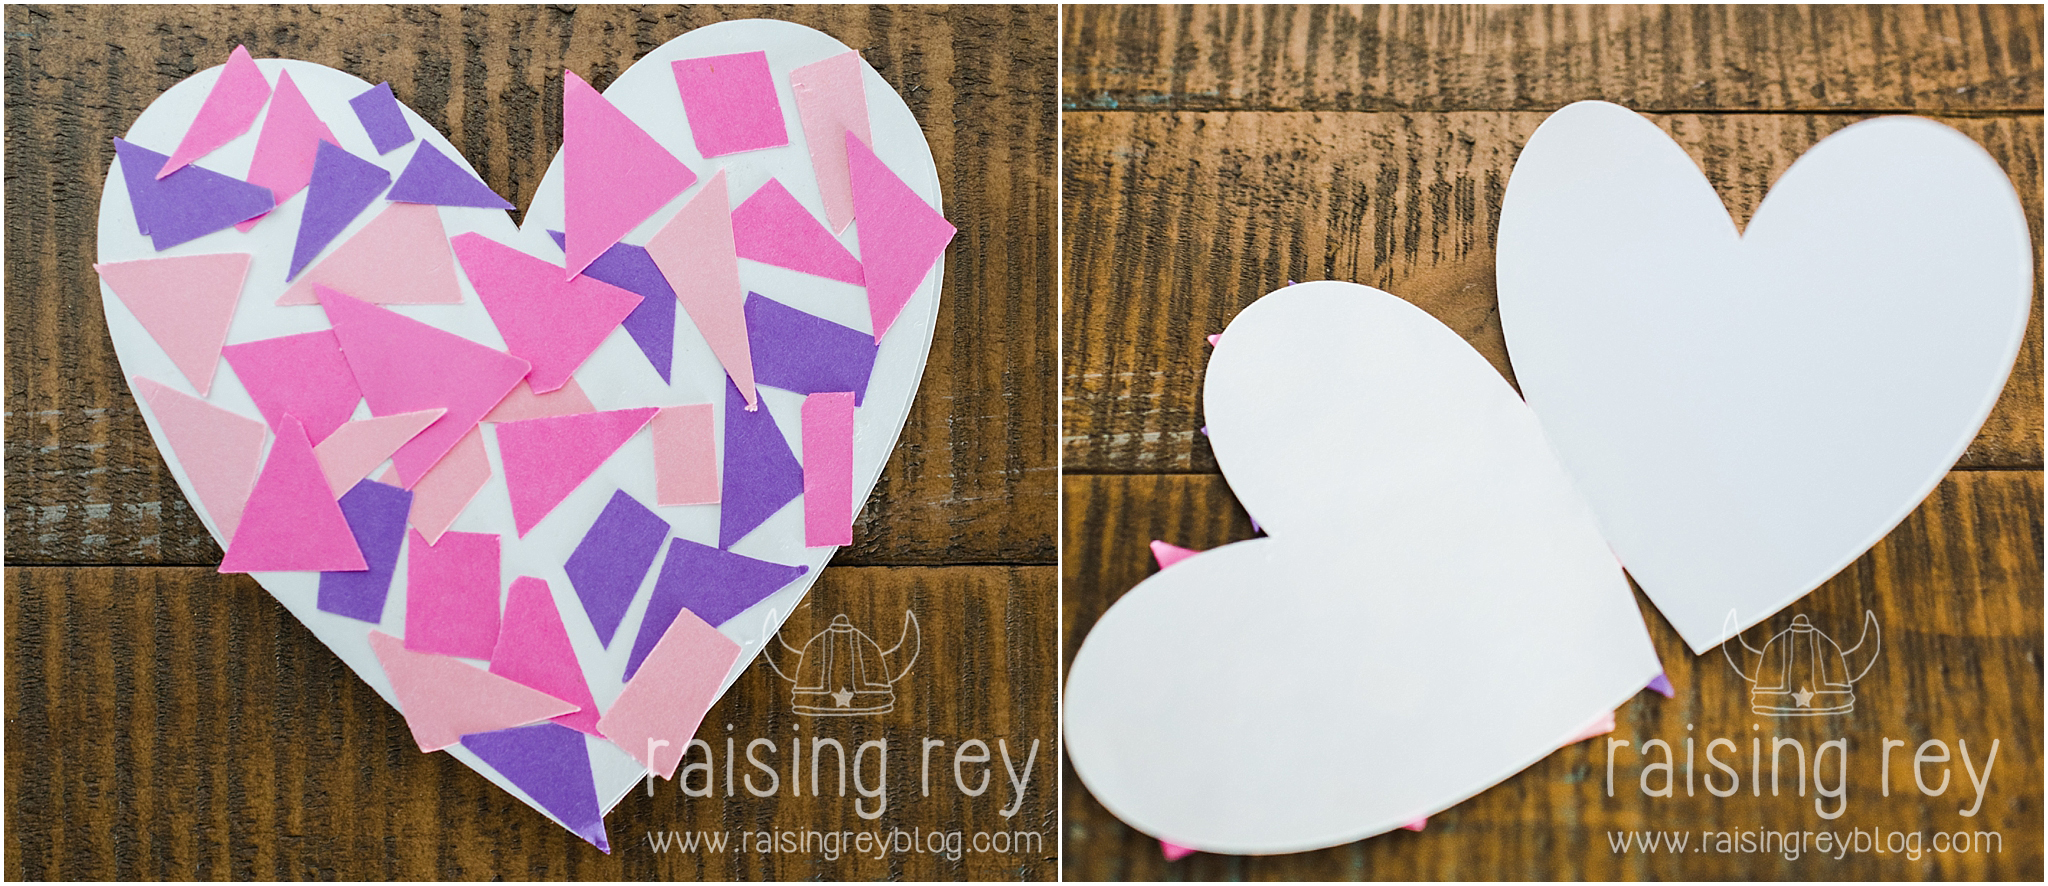
- When done, let dry and add a note to the inside.
Variations: You could do a flat card instead of a folded card and add a note to the back. You could also add a string to the top and make a heart ornament.
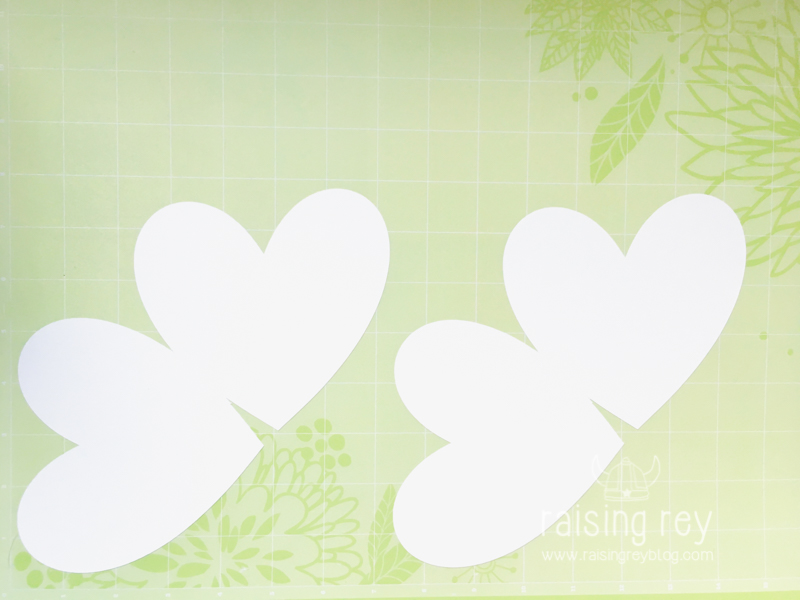
I used my Cricut Explorer to cut the heart cards. If you own a Cricut, you are welcome to use the file I created. The link is at the end of this post. You could also have the Cricut write a note inside the card if you have the scorer/pen feature. If you do not have this feature or do not want to add a message, be sure to hide the text.

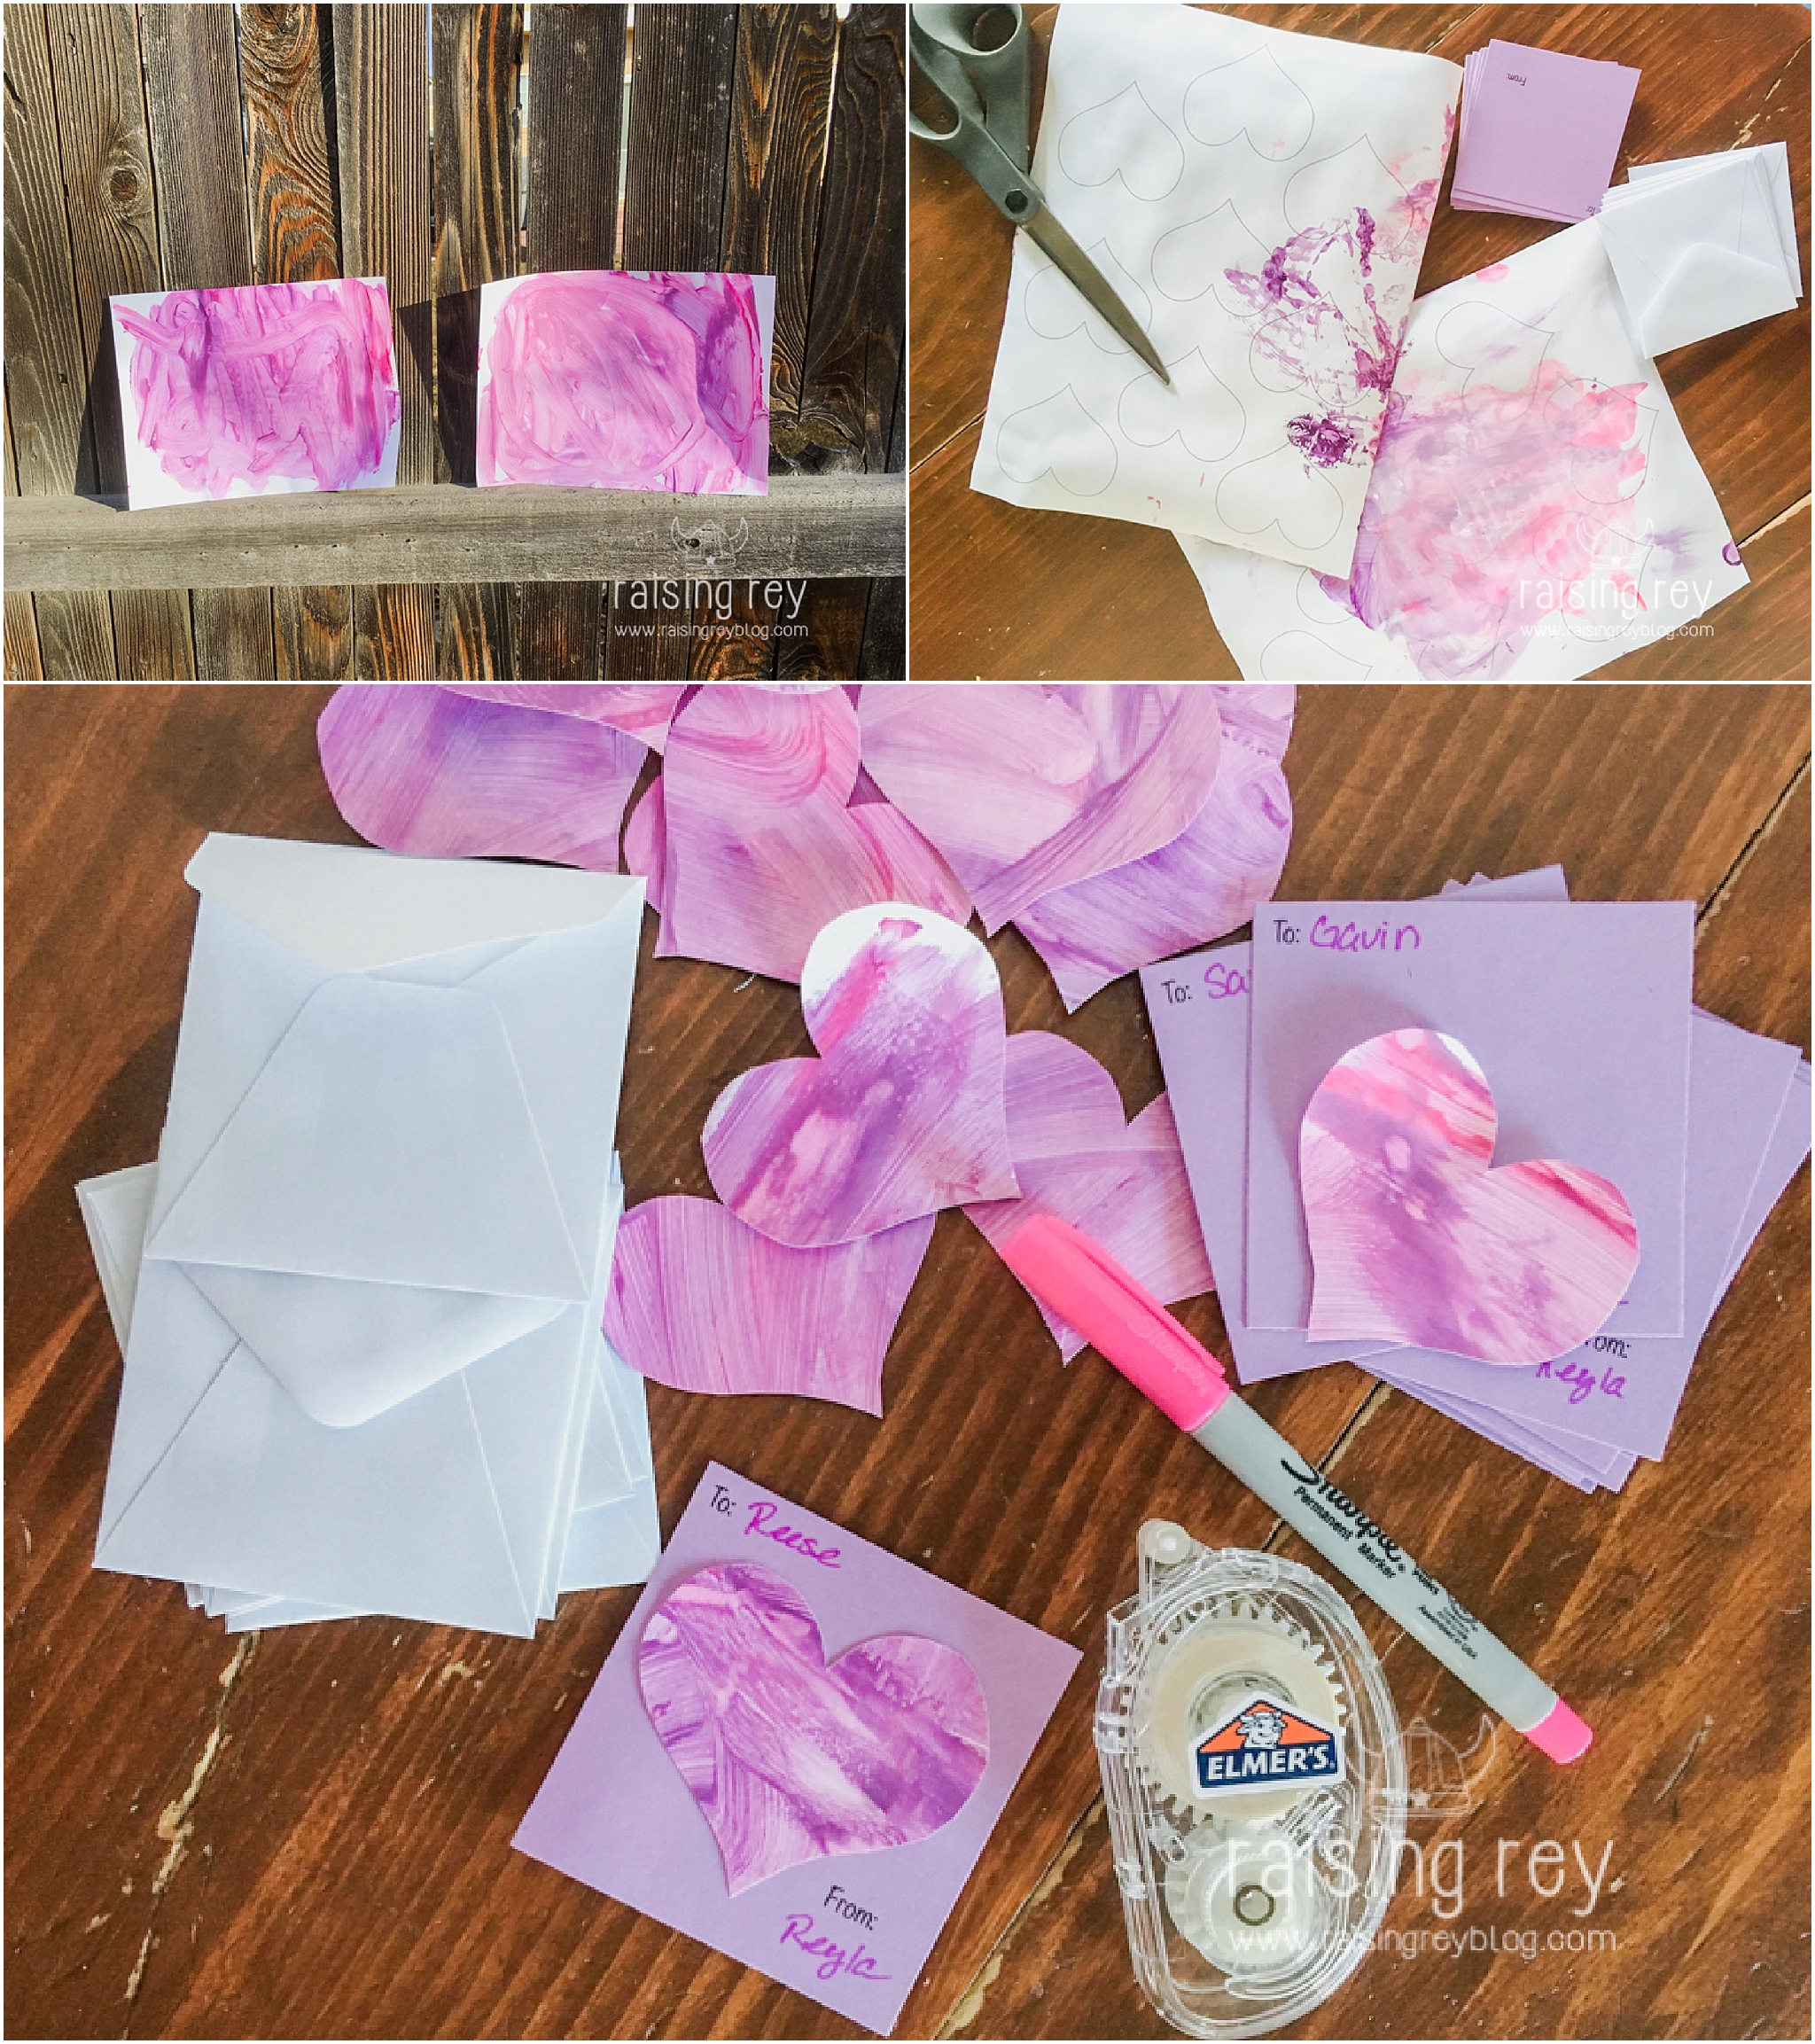
This year Reyla went to her first Valentine’s party! We brought out the paints for this craft and she loved it!
Supplies needed: Printable templates (available at the end of this post) or your own square or rectangle card stock for back of card), envelopes (I found 3.25″x3.25″ at Michaels Craft Store), paint, paint brush (or do finger painting), scissors, and glue.
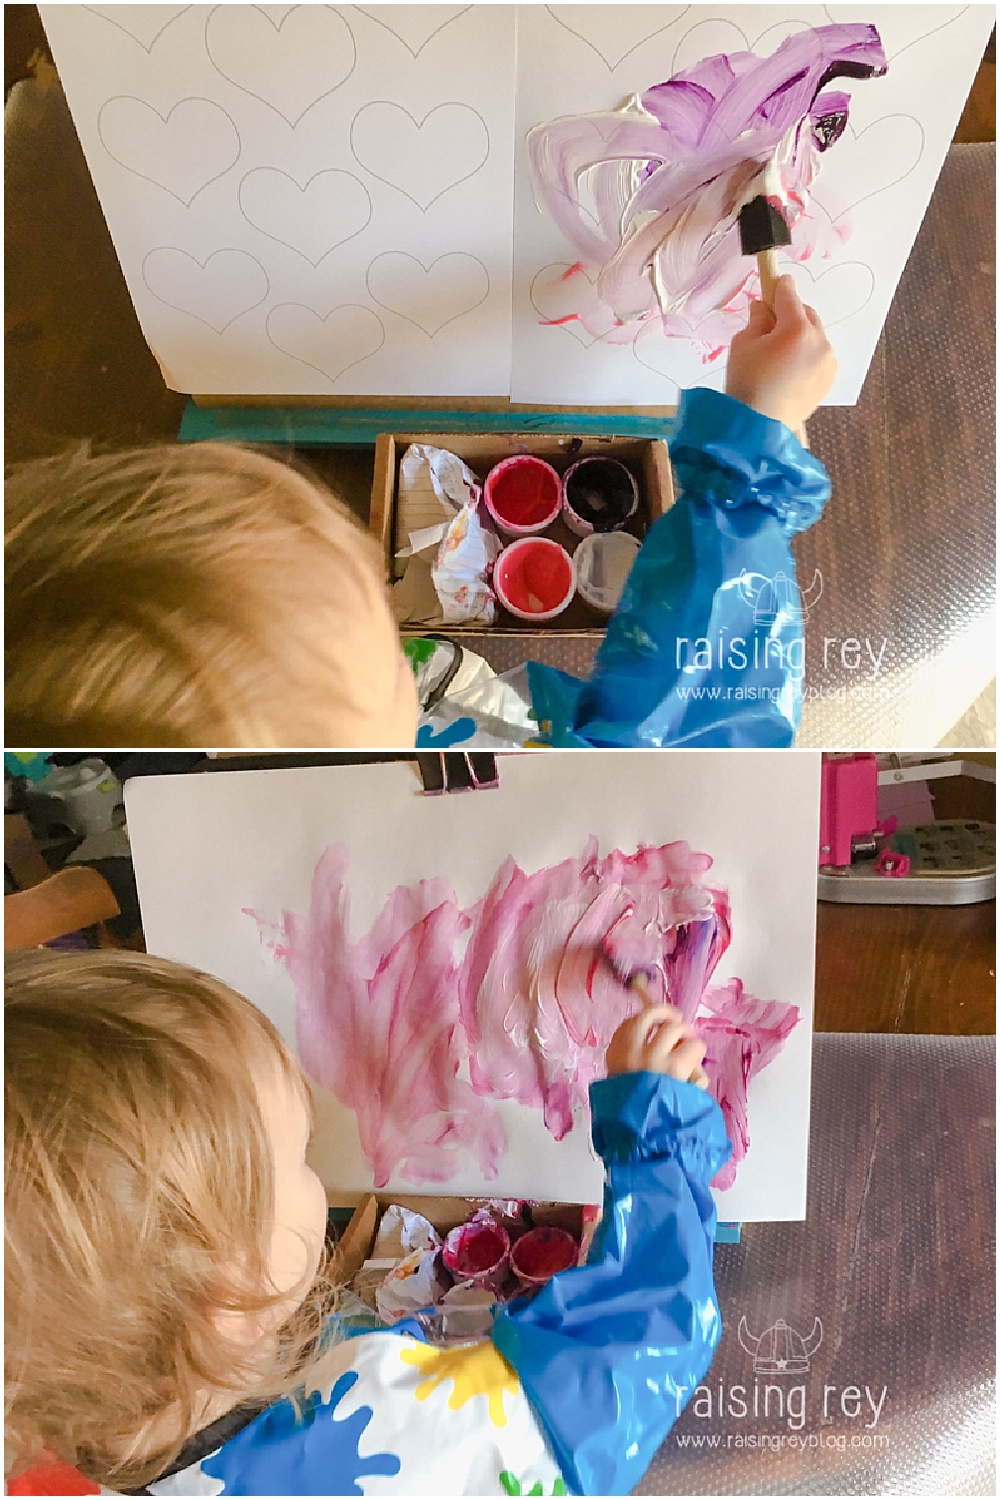
- Setup painting area.
- Paint. Paint on the back side and not on the hearts side. I realized this after Rey started painting that it would be hard to see the hearts for cutting them out.
- Let the paint dry.
- Print and cut out the back of the cards.
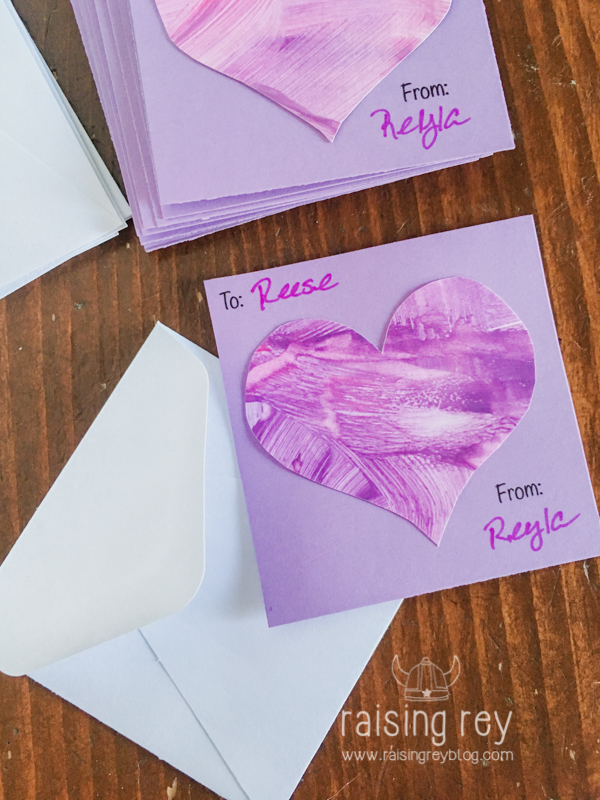
- Fill out the To and From.
- Once the paint is dry on the hearts template, cut out the hearts.
- Glue them to the back of the cards. (I was thinking about using foam tape to give a 3D effect, but they would not have easily fit in the envelopes.)
- All done! Adorable handmade cards for your child to pass out to friends!

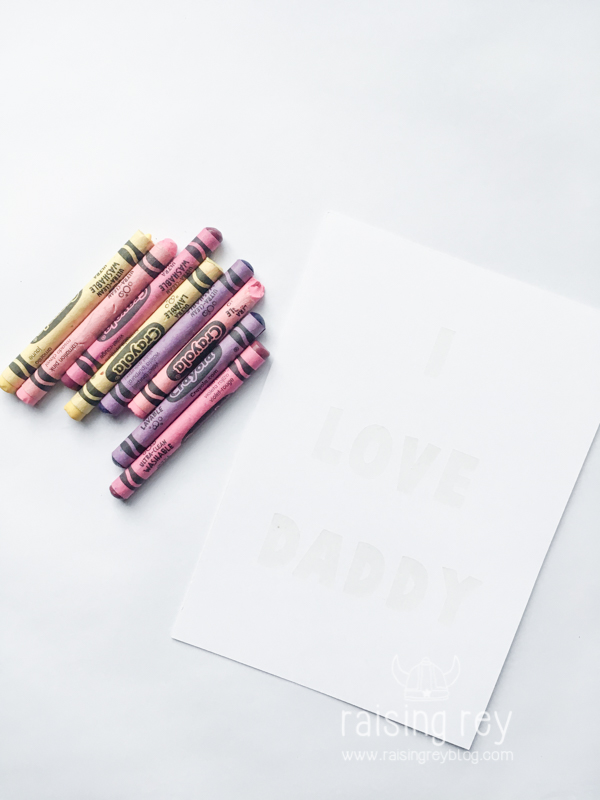
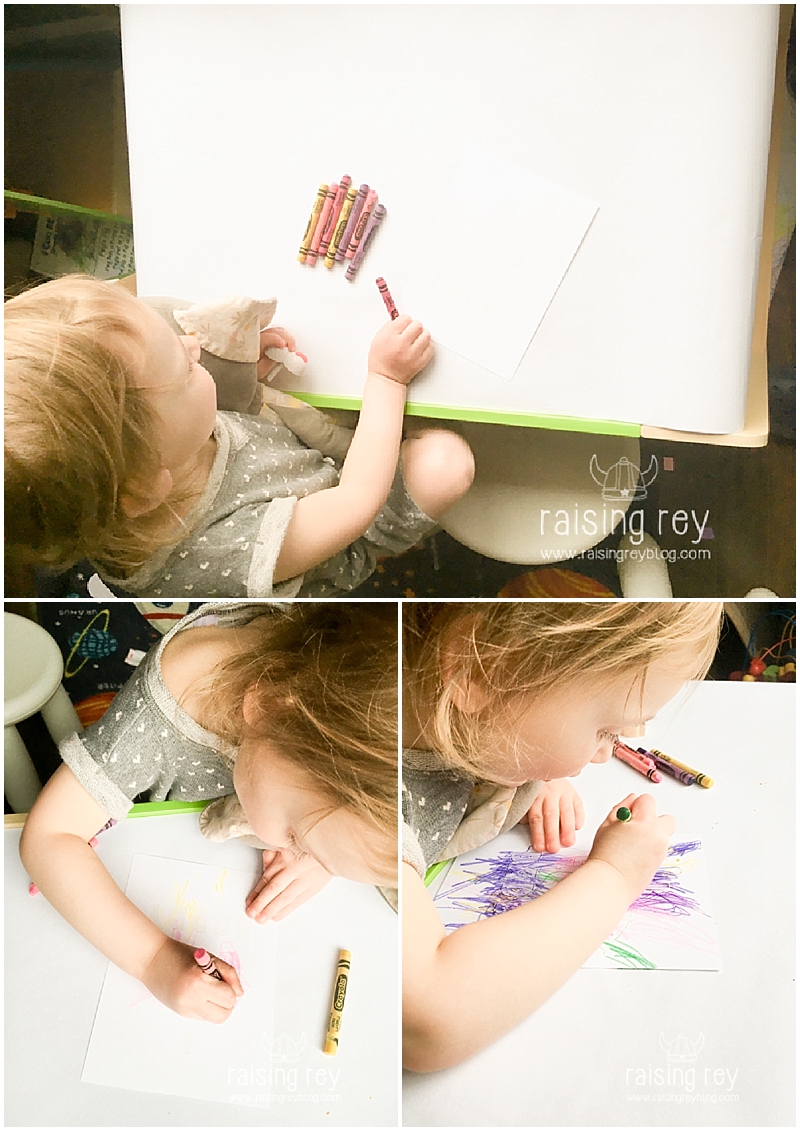
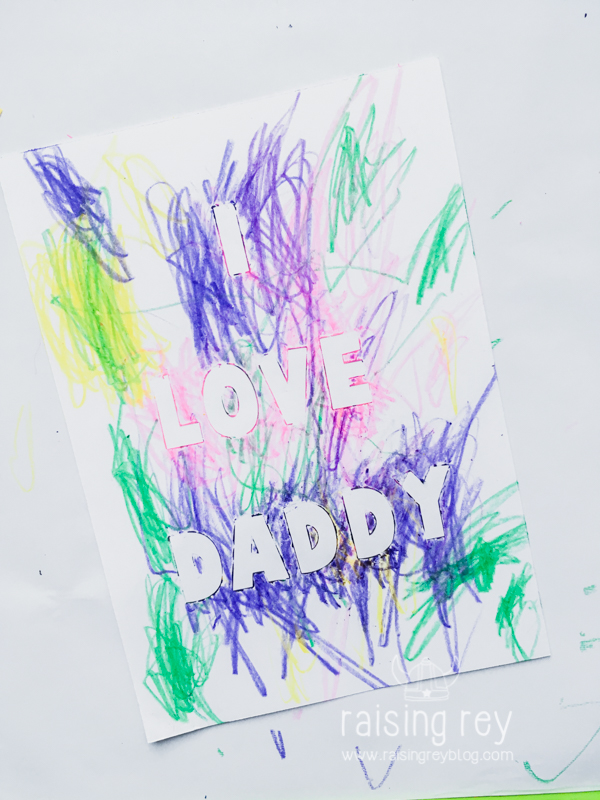
We of course had to make something special for Reyla’s daddy. Coloring is one of our daughter’s favorite things to do and she colors daily. She loved making this card and it’s easy to setup.
You can buy easily removable letter stickers at your local craft store, or if you have a Cricut Explorer, you can cut out the letters using contact paper.
Supplies needed: Cardstock, letter stickers (or contact paper), and crayons.
Directions are pretty self explanatory for this project.
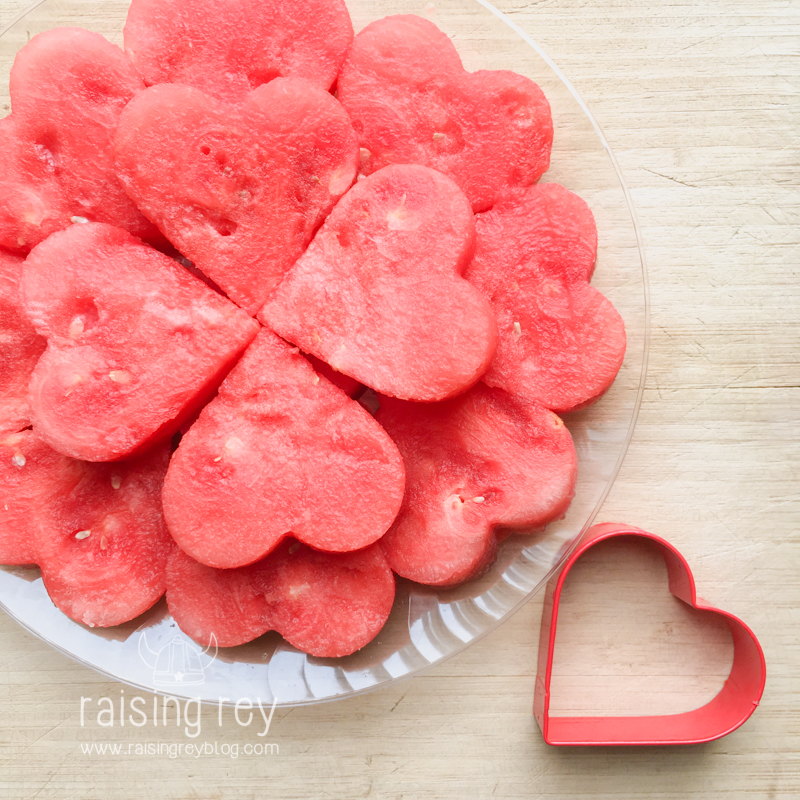
I cut out heart shaped watermelon with a cookie cutter to take to the Valentine’s party.
Any day that celebrates love, is a day for us! And handmade love notes are the best kind.
Downloads and links:
Heart Folded Card PDF
Heart Folded Card JPG
Painted Heart Card Back PDF
Painted Heart Card Back JPG
Painted Hearts Card Hearts PDF
Painted Hearts Card Hearts JPG
Circut Heart Card Link